介绍
SonarQube(曾用名Sonar)是一个开源的代码质量管理系统。
意义
- 编写整洁代码
- 修复代码缺陷
- 加强质量阈
条件
提前配置好Java(Oracle JRE 8 或 OpenJDK 8)
下载安装
其中有两个版本
- LTS Release
每18个月发布一次,长期支持版本是最稳定的版本,所有关键程序问题都会反馈到该版本。
- Latest Release
在热的时候获取它,这是该产品的最新版本。它包含所有新功能,并假定您将在每个新版本中进行升级。
Both LTS and the latest version are commercially supported by SonarSource.
当前下载的Latest Release (7.1) 版本
解压,打开bin目录运行StartSonar.bat
1 | D:\sonarqube-7.1\bin\windows-x86-64\StartSonar.bat |
启动浏览器,访问http://localhost:9000
配置
配置服务
1.以管理员身份运行InstallNTService.bat
2.以管理员身份运行StartNTService.bat
openSCManager failed
需设置wrapper.exe以管理员身份运行此软件

配置MySQL
1.新建数据库sonar
1 | create database sonar; |
2.打开安装目录下的D:\sonarqube-7.1\conf\sonar.properties文件
1 | # User credentials. |
- sonar.jdbc.username
- sonar.jdbc.password
- sonar.jdbc.url
重启Sonar服务,启动浏览器,访问http://localhost:9000
等初始化数据库,登录,默认账号: admin,密码: admin
中文插件
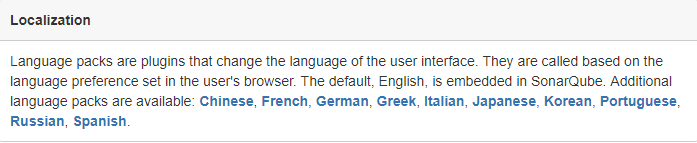
选择Chinese
下载jar包后放在D:\sonarqube-7.1\extensions\plugins目录下,重启服务
下载地址:sonar-l10n-zh-plugin-1.21
文档地址:https://docs.sonarqube.org/display/PLUG/Plugin+Library
用SonarQube Scanner分析Gradle
为Gealle 2.1和以后的插件DSL构建脚本片段:
1 | plugins { |
构建用于旧版本版本或需要动态配置的脚本片段
1 | buildscript { |
最终配置如下:
1 | // Top-level build file where you can add configuration options common to all sub-projects/modules. |
sync后在项目根目录执行以下命令
1 | gradlew sonarqube |
执行的结果保存到sonar数据库中,可在web页面查看结果:http://localhost:9000
来源:https://plugins.gradle.org/plugin/org.sonarqube
文档:http://redirect.sonarsource.com/doc/gradle.html
SonarLint for Intellij IDEA插件
在插件中搜索SonarLint,安装后重启idea即可
参考:https://www.sonarlint.org/intellij/
Jenkins 整合 SonarQube
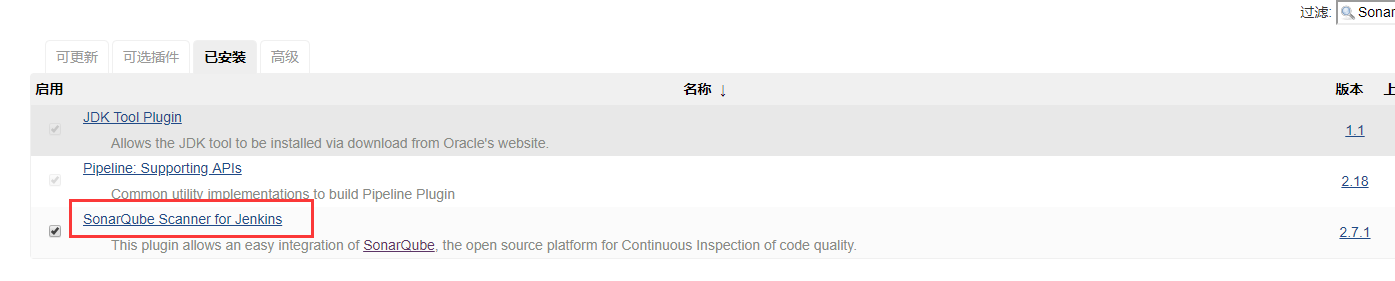
1.系统管理 > 插件管理中安装SonarQube Scanner for Jenkins
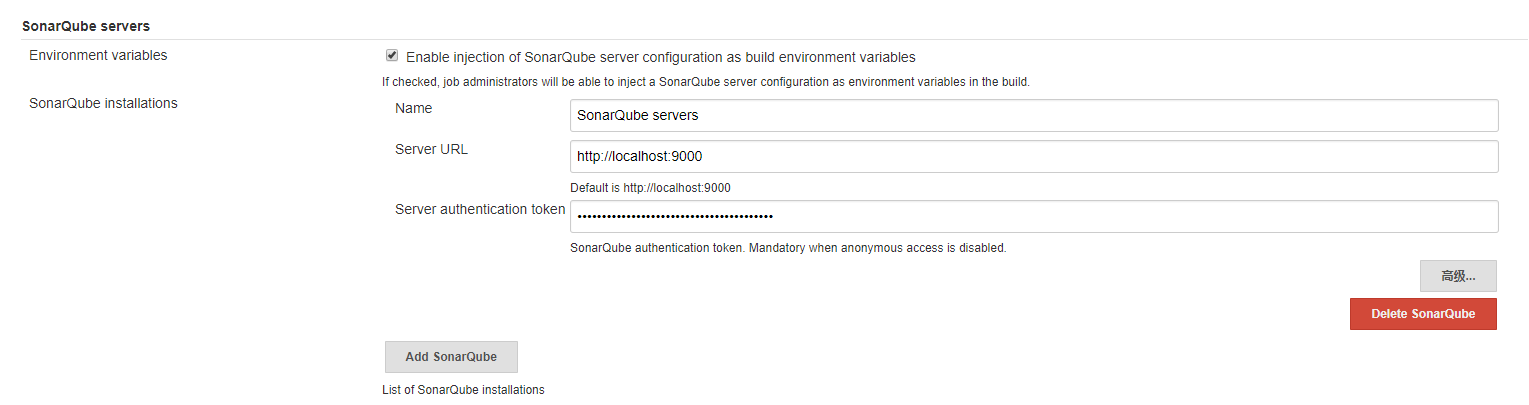
2.系统管理 > 系统设置 > SonarQube servers,Server authentication token,获取方式见第三步
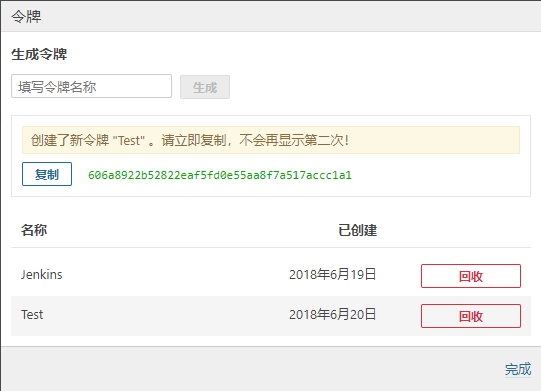
3.按如下步骤点击,配置 > 权限 > 用户 > 令牌

4.填写令牌名称后点击生成,将生成好的令牌复制到第二步图步骤Server authentication token中,保存Jenkins配置
5.系统管理 > 全局工具配置 > SonarQube Scanner,安装Scanner

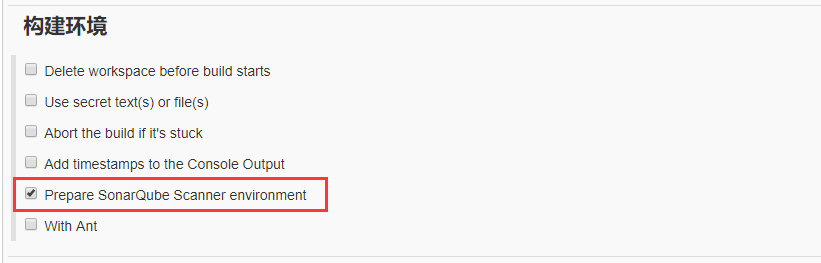
6.在Jenkins安卓项目中配置构建环境选中Prepare SonarQube Scanner environment
7.增加构建步骤Execute SonarQube Scanner,保存,立即构建即可
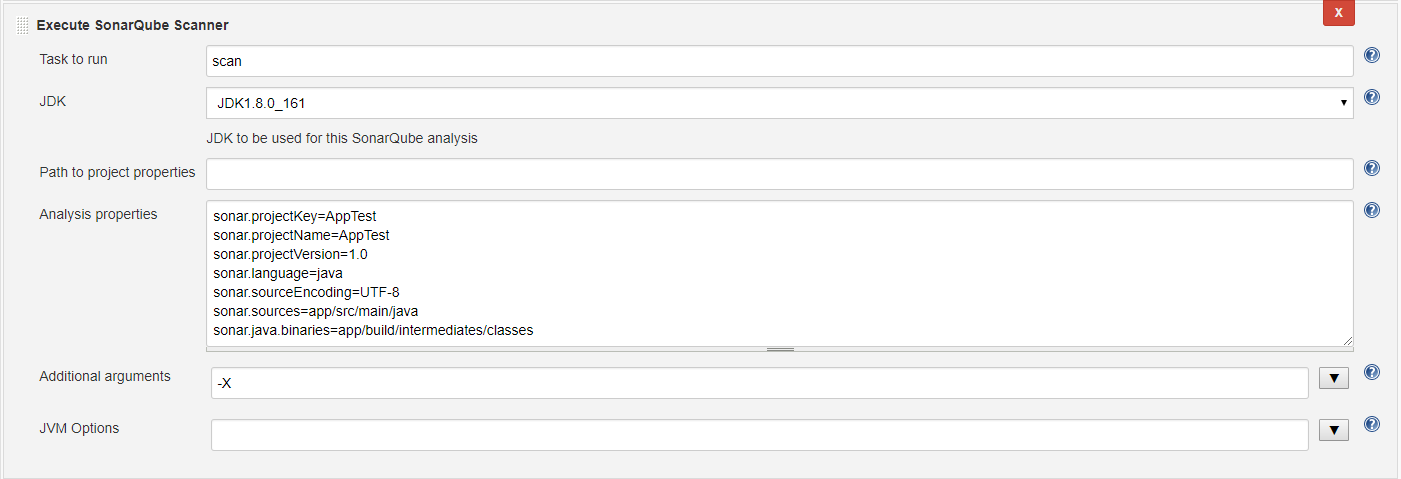
Analysis properties:
1 | sonar.projectKey=AppTest |
8.构建完成之后可在项目左侧菜单SonarQube直接查看分析
http://localhost:9000/dashboard/index/项目名
相关主题
- https://www.sonarqube.org , SonarQube官网
- https://docs.sonarqube.org/display/SONAR/Documentation , SonarQube文档
- https://github.com/SonarQubeCommunity/sonar-l10n-zh/releases/tag/sonar-l10n-zh-plugin-1.21
- Analyzing with SonarQube Scanner for Gradle , 在Gradle中使用SonarQube Scanner
- Use SonarLint in IntelliJ IDEA , 在Idea中使用SonarLint